Tulip Care 101: When & How to Plant for Vibrant Spring Blooms
I’ll never forget the first spring after I planted my very first tulip bulbs.
I had honestly forgotten all about them during the long winter months (life gets busy, you know?), and then one morning in March, I stepped outside to grab the mail, and there they were.
These perfect, vibrant red cups push up through the soil like little miracles. That moment of pure joy?
That’s exactly why I’m obsessed with tulips, and why I want to share everything I’ve learned about growing these stunning spring showstoppers with you.
What Are Tulips and Why Should You Grow Them?
Tulips are spring-blooming bulbs that belong to the lily family—think of them as nature’s way of celebrating the end of winter.

These beauties originated in Central Asia but became famous thanks to the Dutch (you’ve probably seen those gorgeous tulip field photos from the Netherlands on Pinterest!).
Here’s what makes tulips so special: they’re what we call “cool-season bulbs,” which means they actually need a cold winter to bloom their best.
It’s like they have a built-in alarm clock that tells them when spring has arrived.
Bulb vs. Seed: Just to clarify for beginners—tulips grow from bulbs (those onion-looking things), not seeds. A bulb is basically a plant’s storage unit, packed with all the energy it needs to create those gorgeous blooms.
Why Tulips Are Perfect for Beginner Gardeners
In my opinion, tulips are one of the most forgiving flowers you can start with. Here’s why I always recommend them to gardening newbies:
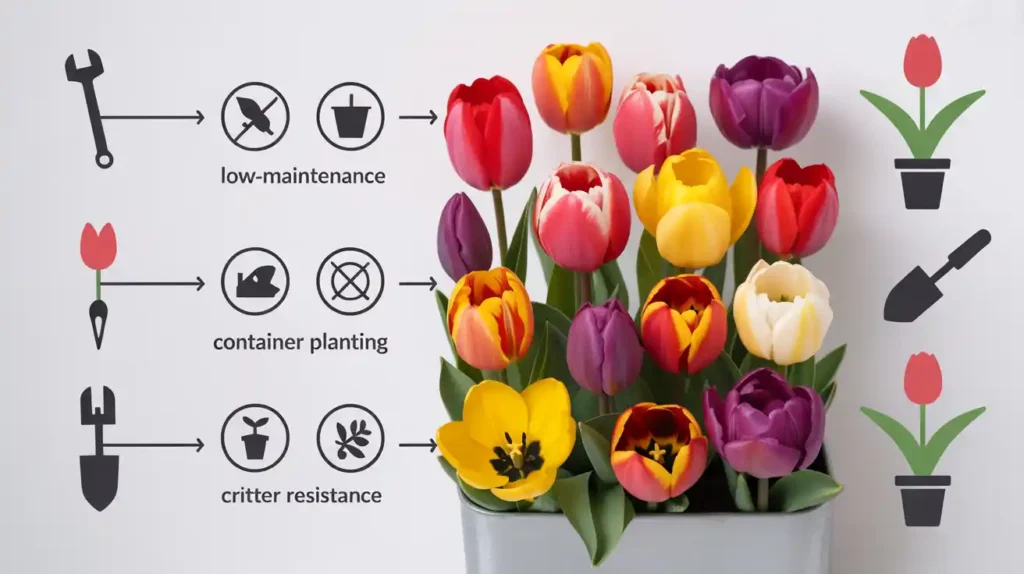
- Low maintenance: Plant once in fall, enjoy blooms in spring
- Huge variety: From classic reds to fringed petals to bi-colors—there’s literally a tulip for every taste
- Fast results: You’ll see blooms just 4-6 months after planting
- Containers friendly: Perfect if you’re working with limited space (apartment dwellers, I see you!)
- Deer resistant: Most critters leave them alone (though squirrels can be sneaky little bulb thieves)
When to Plant Tulip Bulbs: Timing Is Everything
This is probably the most important section of this whole guide, so pay attention! Tulip planting is all about timing, and getting it wrong means no blooms (trust me, I learned this the hard way my second year).
The Golden Rule: Plant When It’s Consistently Cold
You want to plant tulip bulbs when soil temperatures have dropped to 60°F or below for at least 6-8 weeks. For most of us, this translates to:
- Northern regions (Zones 3-6): September to early November
- Southern regions (Zones 7-9): December to January
Note: If you’re in Zone 10 or higher, you’ll need to pre-chill your bulbs in the refrigerator for 12-14 weeks before planting
Here in the Pacific Northwest, I typically plant mine in late October or early November.
The key is watching your local weather—you want several weeks of nighttime temperatures in the 40s.
Why This Timing Matters
Tulips require a process called vernalization, which essentially involves experiencing winter to bloom properly.
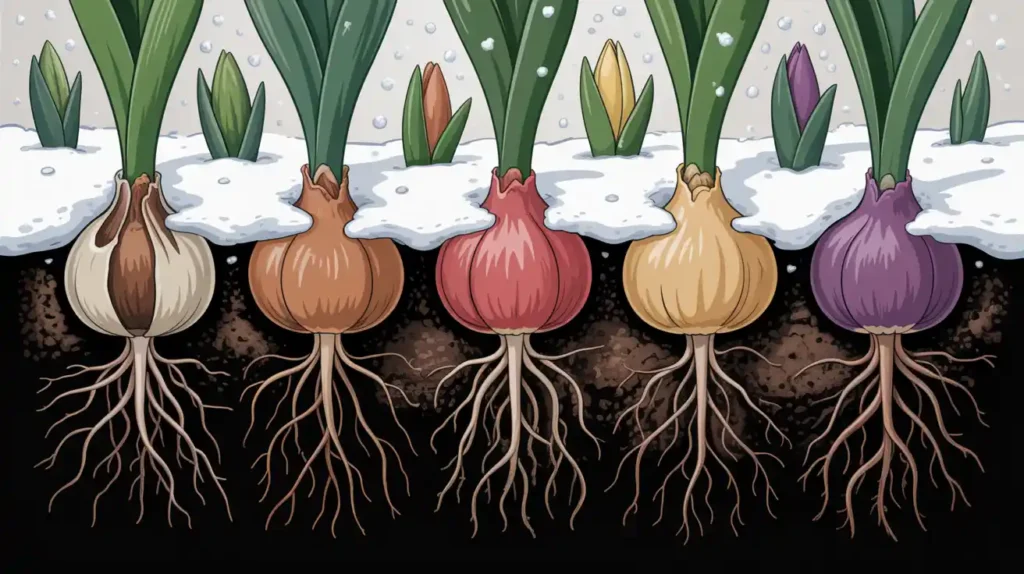
Picture it like this: the bulbs are like teenagers who need their beauty sleep. Without that cold period, they just won’t wake up and bloom in spring.
How to Choose the Right Tulip Bulbs
Walking into a garden center in fall can be overwhelming with all the tulip options, so here’s my simple system for choosing bulbs:
What to Look For:
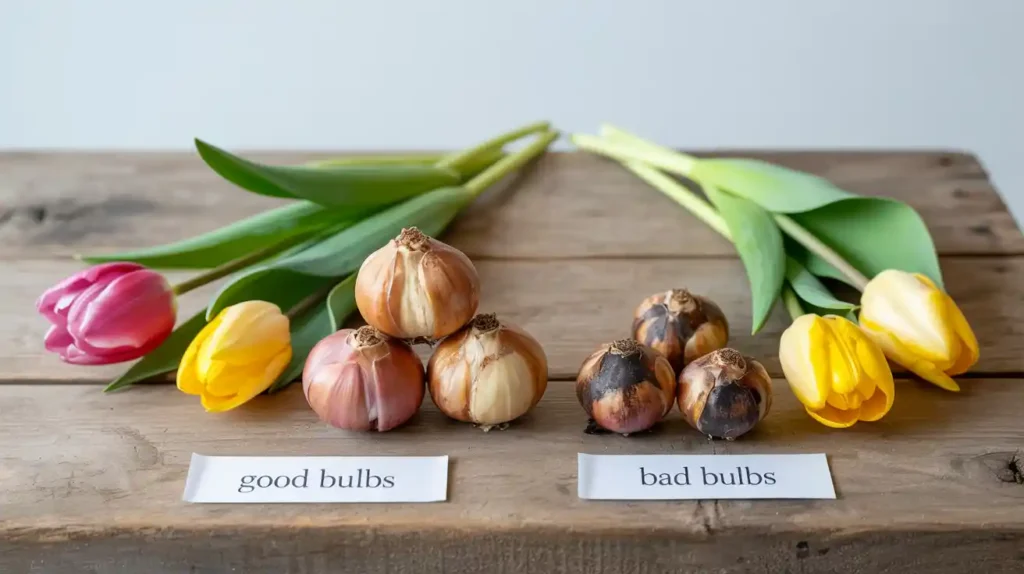
- Firm and heavy: Good bulbs feel solid, like a firm onion
- No soft spots: Squishy areas mean rot
- Intact papery skin: A few loose pieces are fine, but the bulb shouldn’t be completely naked
- Larger is better: Bigger bulbs = bigger blooms (generally speaking)
My Favorite Beginner-Friendly Varieties:
- Darwin Hybrids: Large, classic tulip shape, very reliable
- Triumph Tulips: Perfect for beginners, sturdy stems, wide color range
- Single Early Tulips: Bloom first in spring, great for containers
Pro tip: Buy bulbs as soon as they arrive in stores (usually late August/September). The best varieties sell out fast, and fresher bulbs perform better.
How to Plant Tulip Bulbs: Step-by-Step Guide
Alright, let’s get our hands dirty! Here’s my foolproof method for planting tulips:
What You’ll Need:
- Tulip bulbs
- Garden spade or bulb planter
- A measuring tape or ruler
- Bone meal or bulb fertilizer (optional but recommended)
- Mulch
Step-by-Step Planting Process:
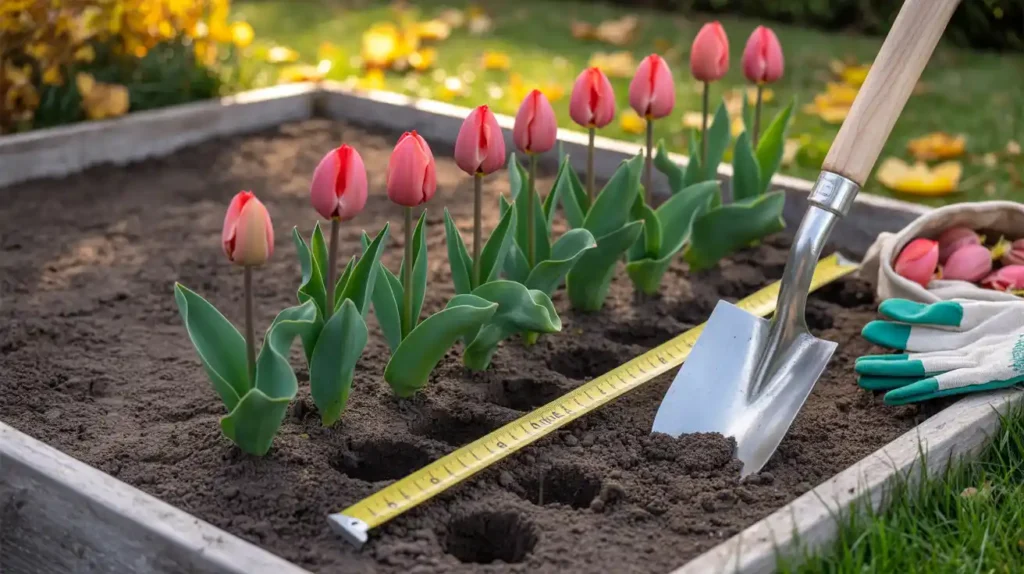
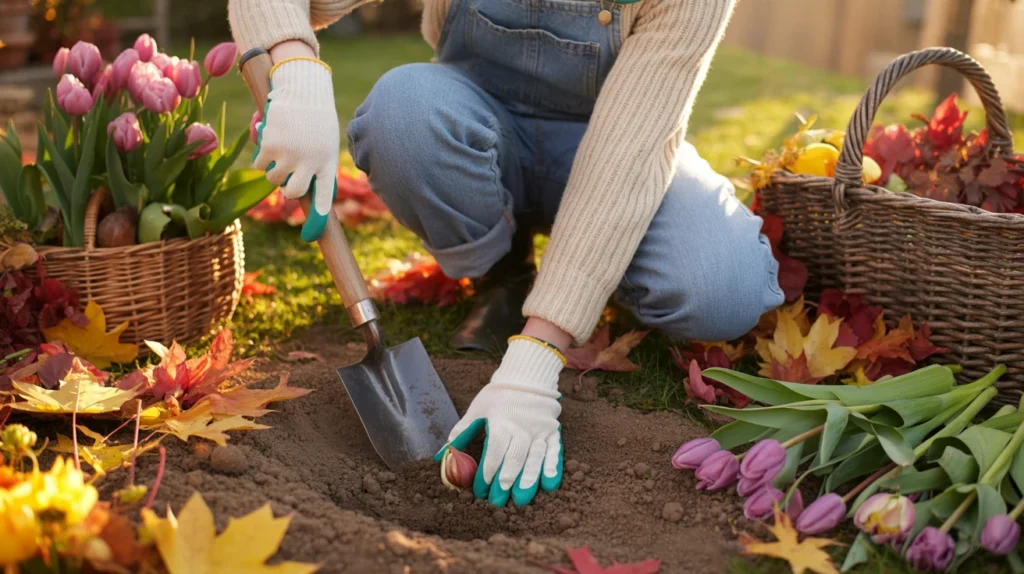
1. Choose Your Location: Pick a spot that gets at least 6 hours of direct sunlight. Tulips are sun-worshippers! Good drainage is crucial—they hate wet feet (standing water will rot the bulbs faster than you can say “spring garden”).
2. Prepare the Soil: Dig up the planting area to about 8 inches deep. If your soil is heavy clay (like mine was initially), mix in some compost or coarse sand to improve drainage. Think of it like making the perfect bed for your bulbs to sleep in all winter.
3. Plant at the Right Depth: Here’s the magic formula: plant bulbs 2-3 times as deep as they are tall. For most tulips, that’s about 6-8 inches deep. Picture burying a light bulb—the pointed end goes up, the flat end goes down.
4. Space Them Properly: Plant bulbs 4-6 inches apart. If you’re going for a natural look (which I love), you can scatter the bulbs and plant them where they land. For a more formal display, measure and space evenly.
5. Feed and Water: Sprinkle a handful of bone meal in each planting hole—think of it as a slow-release breakfast for your bulbs. Water thoroughly after planting, then you’re mostly done until spring!
6. Mulch for Protection: Add 2-3 inches of mulch over the planting area. This helps regulate soil temperature and keeps weeds at bay.
Tips for Growing Spectacular Tulips
After years of tulip growing (and making plenty of mistakes along the way), here are my best insider tips:
For Maximum Impact:
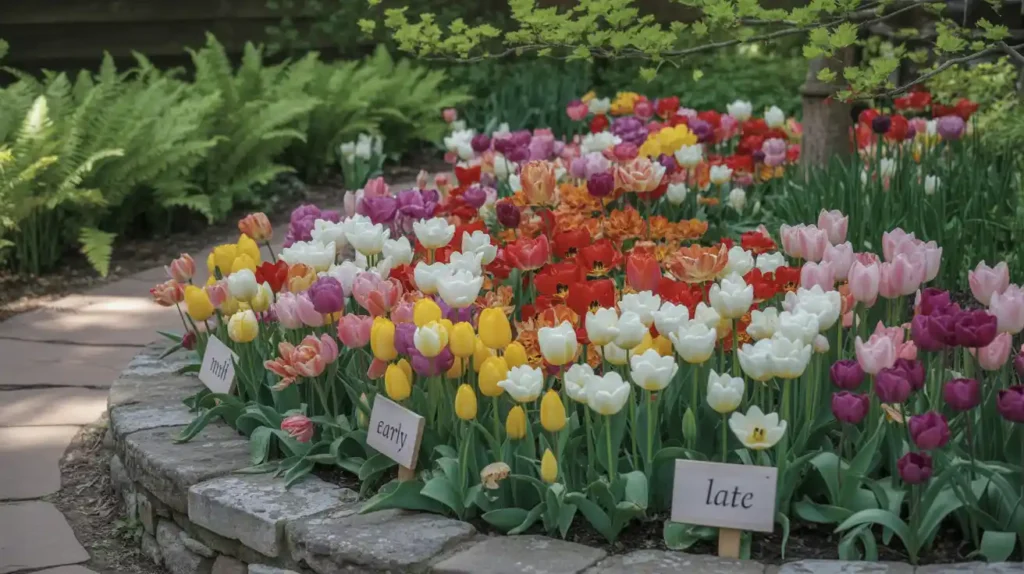
- Plant in groups: Single tulips look lonely. Plant at least 10-15 bulbs of the same variety together for that “wow” factor you see in magazine photos
- Layer different bloom times: Plant early, mid, and late-season varieties for 6-8 weeks of continuous blooms
- Consider height: Put shorter varieties in front, taller ones in back (just like taking a group photo!)
Container Growing Tips:
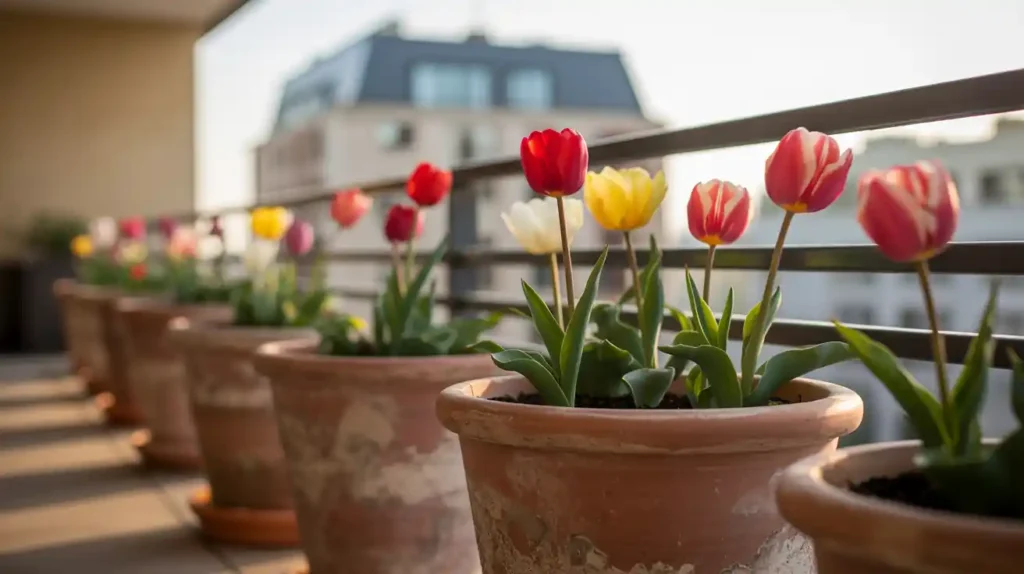
If you’re planting in pots (perfect for patios or if you want to move them around):
- Use containers at least 8 inches deep
- Ensure drainage holes exist
- You can plant bulbs closer together in containers—about 2 inches apart
- Move containers to an unheated garage or basement for winter chill
Protecting from Critters:
Squirrels and chipmunks can be real bulb bandits. If they’re a problem in your area, try:
- Laying chicken wire over the planting area (remove in early spring)
- Planting bulbs in buried wire cages
- Sprinkling cayenne pepper around the area (you’ll need to reapply after rain)
What to Expect: From Planting to Blooming
Let me walk you through what happens after you plant your bulbs (because the anticipation is half the fun!):
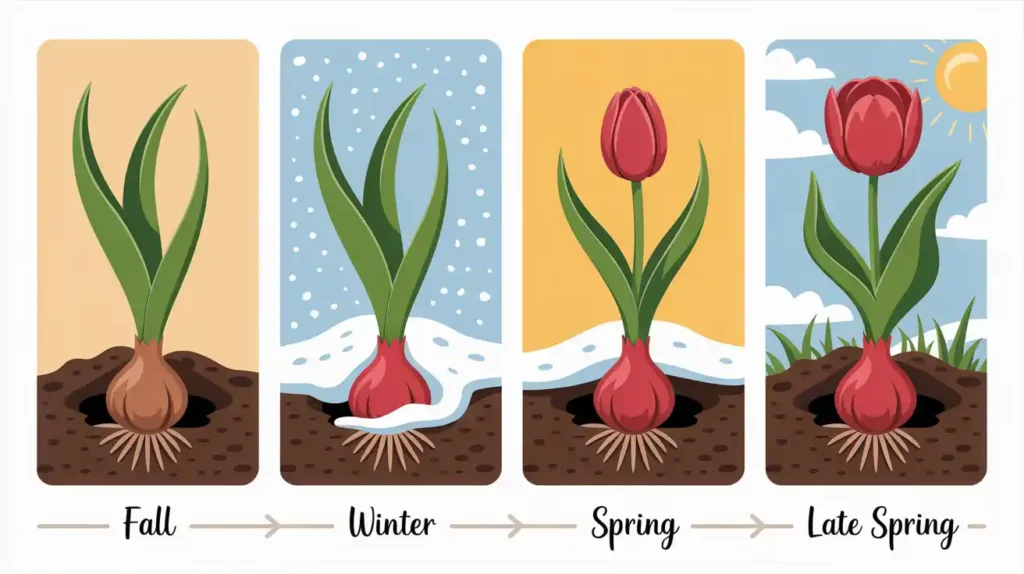
Fall/Winter: Your bulbs are just chilling underground, developing their root systems. You might worry nothing’s happening, but trust the process.
Late Winter/Early Spring: You’ll start seeing little green shoots poking through the soil. This is when I get genuinely excited every year—it’s like getting a text from an old friend.
4-6 weeks later: Buds appear! The anticipation builds.
Peak bloom: Usually lasts 1-2 weeks of absolute garden glory. Take lots of photos—this is your Pinterest moment!
After blooming: Let the foliage die back naturally (it’s feeding the bulb for next year). I know the yellowing leaves aren’t pretty, but resist the urge to cut them too early.
Common Beginner Mistakes (And How to Avoid Them)
I’ve made these mistakes so you don’t have to:
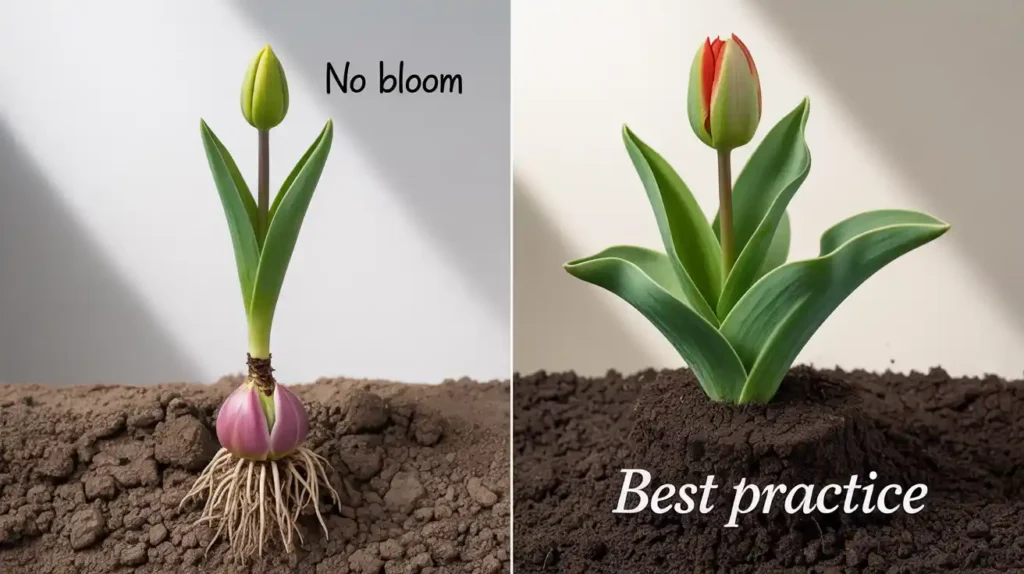
Planting too shallow: Your bulbs need that deep, cool environment. Shallow planting often means no blooms.
Watering too much in winter: Once planted and watered in, tulips generally don’t need additional water until spring growth starts.
Cutting foliage too early: Those yellowing leaves are doing important work. Wait until they’re completely yellow before removing.
Expecting perennial performance: Most tulips perform best in their first year. Some varieties will return, but many are essentially annuals in warmer climates.
Seasonal Care: Keeping Your Tulips Happy Year-Round
Spring Care:
- Water if the spring is particularly dry
- Remove spent blooms (but leave the stem and leaves)
- Take lots of photos for your garden journal!
Summer Care:
- Stop watering once the foliage yellows
- You can dig up bulbs and store them, or leave them in the ground
- Plant summer annuals over the area if desired
Fall Care:
- This is when you plant new bulbs for next spring
- Consider trying different varieties each year for variety
Your Spring Garden Awaits

There’s something absolutely magical about those first tulip blooms after a long winter—they’re like nature’s way of saying, “Hang in there, beautiful things are coming.”
The best part? You get to be part of creating that magic.
Starting with tulips taught me that gardening isn’t about having a green thumb (spoiler alert: I killed plenty of plants in my early days).
It’s about patience, paying attention to timing, and trusting that nature knows what she’s doing.
So grab a bag of bulbs this fall, find a sunny spot in your garden, and plant your own spring surprise. Next March or April, when you see those first colorful cups pushing through the soil, you’ll understand exactly why I fell in love with tulips—and why they’re the perfect flower for anyone wanting to add serious wow-factor to their spring garden.
Your future self (and your Instagram feed) will thank you. Happy planting! 🌷
