DIY Hydroponic Nutrients from Compost: A Beginner’s Guide
I’ll never forget the moment I realized I was literally throwing away liquid gold.
There I was, standing in my backyard last spring, watching the dark, nutrient-rich water draining from my compost bin after a heavy rain.
My hydroponic lettuce setup was thriving on expensive store-bought nutrients, but here was this incredible resource just going to waste!
That’s when it hit me—why not turn my compost into hydroponic nutrients? (Best decision ever, by the way.)
If you’re growing plants hydroponically and want to create your own natural, cost-effective nutrients while reducing waste, you’re in for a treat.
Making hydroponic nutrients from compost is like having your cake and eating it too—you get amazing plant food while being kind to your wallet and the environment.
What is Compost Tea and Why Use It for Hydroponics?

Compost tea is essentially a liquid fertilizer made by steeping finished compost in water—think of it like brewing tea, but for your plants!
When you extract the water-soluble nutrients from compost, you create a gentle, organic nutrient solution that’s perfect for hydroponic systems.
Now, traditional hydroponic purists might raise an eyebrow here (I’ve gotten some interesting looks at gardening meetups), but compost-based nutrients offer some incredible benefits:
- Cost-effective: You’re essentially making nutrients from kitchen scraps and yard waste
- Gentle on plants: Less risk of nutrient burn compared to synthetic fertilizers
- Environmentally friendly: Reduces waste and eliminates plastic nutrient bottles
- Rich in micronutrients: Compost contains trace elements that plants love
Why Make Your Hydroponic Nutrients?
Here’s the thing—store-bought hydroponic nutrients can cost $20-40 per bottle, and you need multiple bottles for a complete feeding program.
When I calculated what I was spending annually (gulp… it was over $200), I knew there had to be a better way.
Making your own nutrients from compost gives you:
- Complete control over what goes into your plants
- Significant cost savings (we’re talking pennies per gallon)
- A use for kitchen scraps that would otherwise go to waste
- Peace of mind knowing exactly what’s feeding your plants
In my opinion, the satisfaction of growing food with nutrients you made yourself is pretty unbeatable!
What You’ll Need to Get Started
For the Compost:
- Kitchen scraps (vegetable peels, coffee grounds, eggshells)
- Brown materials (dried leaves, paper, cardboard)
- Garden waste (grass clippings, plant trimmings)
- Time (about 3-6 months for finished compost)
For Making Compost Tea:
- 1 cup finished, well-aged compost
- 1 gallon of water (preferably dechlorinated)
- Fine mesh strainer or cheesecloth
- Large bucket or container
- Optional: aquarium air pump for aeration
For pH Testing:
- pH test strips or a digital pH meter
- pH adjustment solutions (lemon juice for lowering, baking soda for raising)
How to Make Your Base Compost (The Foundation)
If you’re new to composting, don’t worry—it’s surprisingly forgiving! Picture a balanced recipe where you’re mixing “greens” (nitrogen-rich materials) with “browns” (carbon-rich materials).
Step 1: Gather Your Materials
Greens (Nitrogen-rich):
- Vegetable and fruit scraps
- Coffee grounds and tea bags
- Fresh grass clippings
- Plant trimmings
Browns (Carbon-rich):
- Dried leaves
- Shredded newspaper
- Cardboard (torn into small pieces)
- Straw or hay
Step 2: Build Your Compost Pile
- Start with a layer of browns (about 4 inches thick)
- Add a layer of greens (about 2 inches thick)
- Repeat the layers until your pile is about 3 feet high
- Water lightly until the pile feels like a wrung-out sponge
Here in the Pacific Northwest, we get plenty of rain, so I actually cover my pile during our wet season to prevent it from getting too soggy.
If you’re in a drier climate, you might need to water more frequently.
Step 3: Maintain Your Pile
- Turn every 2-3 weeks to add oxygen (your back will thank you if you use a pitchfork!)
- Monitor moisture—it should feel damp but not dripping
- Watch the temperature—a warm pile means happy microbes doing their job
The whole process takes about 3-6 months.
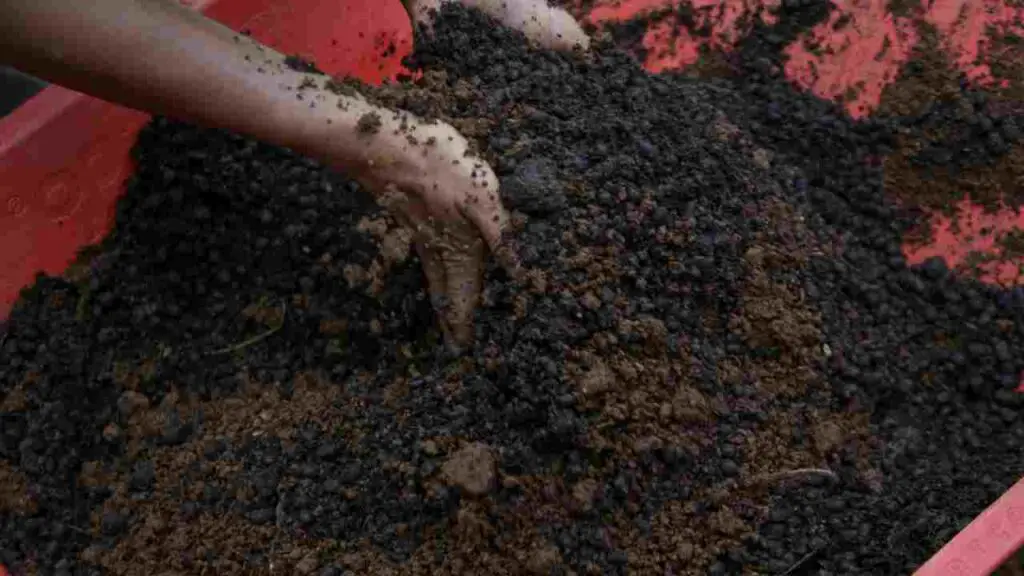
You’ll know it’s ready when it looks dark and crumbly, smells earthy (not sour or rotten), and you can’t identify the original materials.
How to Make Compost Tea for Hydroponic Nutrients
Now for the fun part—turning that beautiful compost into liquid plant food!
Basic Compost Tea Recipe
- Fill a bucket with 1 gallon of water
- If using tap water, let it sit overnight to allow the chlorine to evaporate
- Room temperature water works best
- Add 1 cup of finished compost
- Use a ratio of about 1:16 (compost to water)
- The compost should be well-aged and smell earthy
- Steep for 24-48 hours
- Stir occasionally if you remember (but don’t stress if you forget)
- For even better results, use an aquarium air pump to keep it oxygenated
- Strain the mixture
- Use a fine mesh strainer or cheesecloth
- You want a clear liquid without solid particles that could clog your hydroponic system
- Test and adjust pH
- Aim for 5.5-6.5 for most hydroponic plants
- Add lemon juice to lower pH or baking soda to raise it
Pro Tips for Better Compost Tea
- Use fresh compost tea within 24 hours for maximum microbial activity
- Dilute if it’s too strong—if your plants show signs of stress, water it down
- Keep some concentrated and dilute as needed (I usually make it at 2x strength)
- Strain twice if you’re using a drip system to prevent clogs
Tips for Success with Compost-Based Hydroponic Nutrients
Monitor Your Plants Closely
Unlike synthetic nutrients, where you know exactly what concentration you’re using, compost tea strength can vary. Watch for these signs:
- Healthy plants: Vibrant green color, steady growth, strong stems
- Overfed plants: Very dark green leaves, excessive leafy growth, delayed flowering
- Underfed plants: Pale or yellowing leaves, slow growth, small size
Supplement When Needed
Compost tea is fantastic, but it might not provide everything in perfect balance. In my experience, you might need to occasionally supplement with:
- Calcium (especially for tomatoes and peppers)—I use crushed eggshells in my compost
- Iron (if you see yellowing between leaf veins)—compost from iron-rich sources helps
- Potassium during flowering (banana peels in your compost pile work great!)
Seasonal Adjustments
Here in my area, I’ve noticed that spring compost tea tends to be higher in nitrogen (all those fresh grass clippings), while fall compost tea is more balanced.
Adjust your application accordingly—leafy greens love that nitrogen boost, while fruiting plants prefer more balanced nutrition.
System-Specific Considerations
For Deep Water Culture (DWC):
- Change the nutrient solution every 2-3 days with compost tea
- Keep water temperature around 65-70°F to prevent algae growth
For Ebb and Flow Systems:
- Strain extra carefully to prevent pump clogs
- Clean your system more frequently than with synthetic nutrients
For Drip Systems:
- Use a very fine filter in your reservoir
- Consider using a settling tank to let particles settle out
Troubleshooting Common Issues
Cloudy or Smelly Tea
If your compost tea smells bad or looks funky, don’t use it! This usually means:
- Your base compost wasn’t fully finished
- The tea sat too long without aeration
- The water temperature was too warm
Start fresh with well-aged compost and use the tea within 24 hours.
Plants Not Responding
Sometimes plants need time to adjust from synthetic to organic nutrients. Give them 2-3 weeks to adapt. If you’re still seeing poor growth:
- Test your pH (organic nutrients can be more acidic)
- Try diluting the tea further
- Consider supplementing with specific nutrients
Algae Growth
Organic nutrients can promote algae growth in your system. Combat this by:
- Keeping your reservoir covered and dark
- Maintaining proper water temperature
- Cleaning your system regularly
Advanced Variations to Try
Once you’re comfortable with basic compost tea, experiment with these variations:
Kelp Meal Boost
Add 1 tablespoon of kelp meal to your compost tea for extra micronutrients and growth hormones. (Your plants will literally thank you with bigger, healthier growth!)
Worm Casting Special
If you have access to worm castings, substitute half your compost with castings for an extra-gentle, nutrient-rich tea.
Targeted Composting
Create specific composts for different plant needs:
- High-nitrogen compost: More kitchen scraps and grass clippings for leafy greens
- Balanced compost: Equal parts greens and browns for general use
- Phosphorus-rich compost: Include bone meal or fish scraps for flowering plants
Making It Work Year-Round
Indoor Composting Options
If you’re limited on outdoor space (like I was in my apartment days), consider:
- Bokashi composting: Fermented composting that works in small spaces
- Vermicomposting: Worm bins that produce incredible castings
- Tumbler composters: Faster composting in a contained system
Preserving Compost Tea
While fresh is best, you can preserve some nutrition by:
- Freezing in ice cube trays for single-use portions
- Dehydrating the liquid into powder (though you’ll lose some beneficial microbes)
- Making larger batches and storing in the refrigerator for up to a week
Safety Considerations
Let’s keep this safe and fun! A few important points:
- Always use finished, well-aged compost to avoid harmful bacteria
- Keep compost tea refrigerated if storing for more than a day
- Wash your hands thoroughly after handling compost or compost tea
- Don’t use pet waste or meat scraps in your compost—stick to plant materials
Your Journey to Sustainable Hydroponic Growing
Making your hydroponic nutrients from compost is honestly one of the most rewarding aspects of my gardening journey.
There’s something magical about watching plants thrive on nutrients you created from what would have been waste. Plus, your wallet will definitely appreciate the savings!
Start small by trying compost tea with just one plant or a section of your hydroponic system. Pay attention to how your plants respond, and don’t be afraid to adjust as you learn.
Remember, every master gardener started as a beginner, and even my most successful growing seasons included some “learning experiences” (okay, failures, but they taught me so much!).
Your plants are going to love this natural approach, and you’ll love the satisfaction of creating a truly sustainable growing system. Plus, think about all the amazing conversations you’ll have when people ask about your incredible harvest and you get to say, “I made the nutrients myself from kitchen scraps!”
So grab that compost bin, start saving those vegetable peels, and get ready to transform your hydroponic garden with nutrients that are as good for the planet as they are for your plants.
Happy growing! 🌱