CO2 Supplementation Hydroponics: A Home Grower's Guide
Every few months someone in a growing forum asks why their plants aren’t responding to CO2 bags they just added to their tent. The answers are always the same: weak lights, unbalanced nutrients, poor airflow. CO2 supplementation is genuinely powerful (studies consistently show a 30–50% increase in photosynthesis rates under enriched conditions), but it only delivers those gains when everything else is already working. Add CO2 to an underpowered setup and you’re feeding a fire that isn’t hot enough to burn.
This guide is aimed at home growers who have gotten their basics down and are now asking whether CO2 is the right next move. The honest answer: sometimes yes, sometimes not yet. Let’s work through it.
Why Plants Need CO2 in the First Place
Carbon dioxide is one of the three raw ingredients for photosynthesis (along with water and light). Plants pull CO2 from the air through tiny pores called stomata, combine it with water, and use light energy to convert it into sugars. Those sugars drive everything: root growth, canopy development, fruit set, and dry weight at harvest.
Ambient outdoor air sits at roughly 400–420 parts per million (ppm) of CO2. That’s the baseline your plants evolved to work with. But in a sealed or semi-sealed grow room, plants actively consume that CO2 as they photosynthesize. Without replenishment, a dense canopy in a sealed tent can deplete the air down to 200 ppm or lower within a few hours of lights-on. At that point your plants are essentially gasping, and photosynthesis slows dramatically even if the lights are blazing and the nutrients are perfect.
That’s the first reason to think about CO2: not enrichment, but maintenance. Before you even consider pushing levels above 1,000 ppm, make sure your exchange rate isn’t letting CO2 drop below ambient in the first place.
The “Last Dial” Rule: When CO2 Actually Pays Off
CO2 enrichment only drives meaningful gains when your plants are already hitting their photosynthetic ceiling at ambient CO2 levels. That ceiling is set by light intensity.
If your PPFD (photosynthetic photon flux density) is below roughly 600 µmol/m²/s, your plants don’t have enough light energy to use the extra CO2 you’re supplying. You’d be pumping gas into an engine running at half throttle. Raising CO2 from 400 to 1,200 ppm in a tent with a weak 200W blurple light will do almost nothing for yield. The plants are light-limited, not CO2-limited.
The math works like this: higher CO2 raises the point at which plants become light-saturated. A plant grown at 1,200 ppm CO2 can productively use PPFD up to 1,500+ µmol/m²/s before it maxes out, versus roughly 800–1,000 µmol/m²/s at ambient CO2. Quality LED fixtures running at full intensity in a properly sized tent (a 600W+ LED in a 4x4, for example) can absolutely push into that range. Budget setups almost never do.
So before CO2 goes on your shopping list, check the other boxes first:
- Lights that deliver adequate PPFD for your canopy (refer to your grow light distance and intensity settings and check that you’re hitting target numbers)
- Nutrients dialed in with no visible deficiencies (if you’re still troubleshooting lockout or deficiency symptoms, CO2 won’t compensate)
- pH and EC stable across the reservoir cycle
- Adequate airflow so heat and humidity aren’t strangling your canopy
Once those are all working, CO2 becomes a legitimate yield multiplier. Before that, it’s an expensive distraction. If you’re still seeing slow or stalled plant growth, that’s your cue to fix the fundamentals before adding gas.
What’s the Right CO2 Level for Hydroponics?
Target ranges vary by growth stage, and precision matters more than people realize.
| Growth Stage | Target CO2 Range |
|---|---|
| Seedling / Clone | 400–600 ppm (no enrichment needed) |
| Vegetative | 800–1,000 ppm |
| Early Flower / Fruiting | 1,000–1,200 ppm |
| Late Flower | 800–1,000 ppm (reduce slightly) |
| Lights off (any stage) | Stop CO2 entirely |
That last point matters. Photosynthesis only happens when the lights are on. Releasing CO2 during dark periods is pure waste, and in a sealed room it’s a health hazard. Every CO2 controller worth buying has a light sensor input or a photocell for exactly this reason.
Don’t push above 1,500 ppm. The old internet advice of 1,500–2,000 ppm is from commercial greenhouse research, often with very high PPFD supplemental lighting. For a home tent, you’ll see diminishing returns above 1,200 ppm and real safety risk above 1,500 ppm (more on that below).
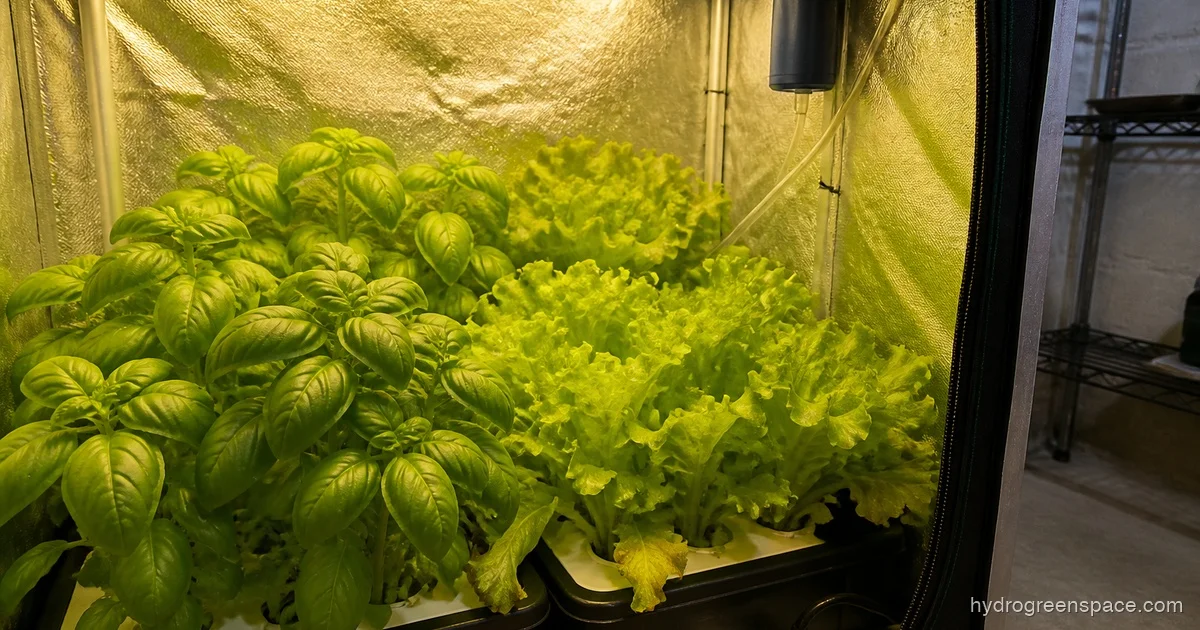
Tip: If you grow a mix of crops, set your CO2 targets to the most light-hungry plant in the tent. Leafy greens like lettuce and basil are efficient at ambient CO2 and don’t need enrichment the way fruiting plants do. CO2 supplementation makes the most sense for tomatoes, peppers, cucumbers, and high-density fruiting crops.
The Three Ways to Add CO2 to Your Grow Room
There are three realistic delivery methods for home growers: compressed CO2 tanks with a regulator, CO2 generators that burn propane or natural gas, and CO2 bags or pads. Each has a real use case and real limitations.
Compressed CO2 Tanks
A CO2 tank connected to a regulator, solenoid valve, and a ppm controller is the cleanest and most controllable option. You dial in your target ppm, and the system pulses gas until it hits that setpoint. No heat, no combustion byproducts, no guesswork.
The downsides are upfront cost (regulator + controller + tank fills) and the ongoing logistics of getting tanks refilled. In most areas you can swap tanks at welding supply shops or homebrew stores. A 20 lb tank in a 4x4 tent with good sealing will last roughly 4–6 weeks of active enrichment.
This is the right choice for anyone serious about dialing in CO2 in a controlled environment. It pairs especially well with the kind of sealed or near-sealed tent setup that CO2 enrichment demands.
CO2 Generators (Propane or Natural Gas)
Burner-style generators produce CO2 as a byproduct of combustion. They’re popular in larger rooms because they’re cheap to run per cubic foot of CO2 produced. But for most home tent growers, they introduce two problems: heat and water vapor. Burning propane releases both, which means your HVAC load goes up the moment your CO2 generator fires. In a small tent, that’s a lot to manage.
Generators also require adequate oxygen in the room to burn cleanly, which creates a tension with the sealed-room approach that makes CO2 enrichment most effective. They’re genuinely better suited to rooms of 500 cubic feet or more where the added heat is manageable. For a standard 4x4 or 5x5 grow tent, a tank setup is almost always the better call.

CO2 Bags and Pads
CO2 bags contain a mycelium culture that produces CO2 as it metabolizes a substrate. You hang them in the tent, the fungi do their thing, and CO2 slowly releases over several weeks to months.
Do they work? Yes, a little. A single bag in a 4x4 tent might add 100–200 ppm above ambient, but the output is passive and uncontrollable. On a hot day the bag off-gasses faster; on a cool day it slows down. You can’t target 1,000 ppm with a bag because you can’t regulate the output.
Where bags are genuinely useful: maintaining CO2 near ambient in a well-ventilated tent where the exhaust fan keeps pulling air out. They can offset the CO2 depletion that happens when fresh air is constantly cycling through. For anyone running a non-sealed setup with a standard inline fan, bags are a practical and affordable option that prevents the ambient drop problem without requiring a full CO2 system.
What I’d do: If you’re running a non-sealed tent with good ventilation, start with a CO2 bag to prevent below-ambient depletion. If you’re ready to invest in a sealed setup with strong LEDs, go straight to a tank and controller, because bags won’t get you to the ppm levels that drive meaningful yield gains.
Can You Run CO2 Without a Sealed Grow Room?
Technically yes, but practically it’s expensive and inefficient. In a room with active exhaust pulling air out every few minutes, CO2 you inject gets vented almost immediately. You’d need to pump in a lot of gas to maintain even modest enrichment.
The standard approach is to switch to a sealed or recirculating environment for CO2 enrichment: no active exhaust during CO2 injection, with a dehumidifier and AC handling the environment internally. This changes your HVAC strategy significantly. The electricity costs of running a sealed room with AC, dehumidifier, and CO2 add up fast, and it’s worth running those numbers before committing to this approach.
That said, a “leaky seal” approach works for small tents. Reduce your exhaust fan to minimum speed during lights-on, inject CO2 to maintain 800–1,000 ppm, and let the fan keep humidity and heat in check. You’ll use more CO2 than a fully sealed room, but you’ll still see a meaningful improvement over ambient-only operation.
Measuring CO2 in Your Grow Room
You cannot manage what you can’t measure. A basic CO2 sensor (NDIR type, not the cheap electrochemical kind) will run $80–$150 and is non-negotiable if you’re running active enrichment. The electrochemical sensors commonly bundled with cheap air quality monitors are not accurate for plant-growing purposes: they drift quickly and often read ambient levels incorrectly.
Look for a sensor with a display, data logging capability, and ideally a 0–5V or relay output so it can control a solenoid valve or CO2 controller. Brands like Inkbird, Autopilot, and Titan Controls make solid options in the $100–$200 range that work well for home setups.
Place the sensor at canopy level, not at ceiling height. CO2 is slightly denser than air and will stratify somewhat, but more importantly you want to measure what your plants are actually breathing, not what’s floating above them.
CO2 Safety in the Grow Room
CO2 is colorless and odorless. At 1,000–1,200 ppm (your target growing range) it’s harmless to humans (outdoor air in a crowded room is sometimes that high). But CO2 accumulates. In a sealed or near-sealed room, a malfunction that dumps a full tank or runs a generator continuously can push levels to 3,000–5,000 ppm, where you’ll experience headaches and impaired judgment, or higher still.
Warning: Never sleep in a room where CO2 is actively injected. Never enter a sealed grow room after a long injection cycle without ventilating it first. A CO2 controller that kills the gas at lights-off is not optional; it’s a basic safety measure. Consider a wall-mounted CO2 alarm (the same kind used in commercial greenhouses) if you’re running a serious enrichment setup in an attached garage or basement.
A CO2 alarm is cheap insurance against a controller failure or a stuck solenoid, and worth adding to any basement or attached garage grow.
What Plants Benefit Most from CO2 Enrichment?
Fruiting crops are the big winners: tomatoes, cucumbers, peppers, and squash respond dramatically to elevated CO2, especially during the fruiting window when their demand for photosynthate is highest. These are also the crops most likely to be grown under the high-intensity lighting that makes CO2 enrichment viable.
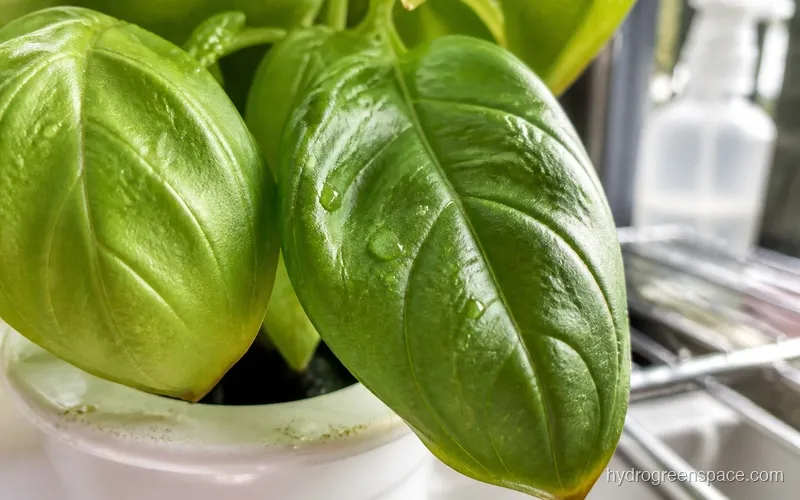
Leafy greens (lettuce, spinach, basil, herbs) show some benefit but far less pronounced. They’re naturally efficient at lower light and lower CO2 levels. If lettuce is your main crop, your money is better spent on training techniques or optimizing your light cycles before adding CO2 to the equation.
Cannabis and fruiting vine crops under strong LEDs represent the clearest return on investment from CO2 supplementation. If you’re running a SCROG setup or a SOG canopy with a dense fruiting layer, you’re already operating at the light intensities where CO2 pays off. Adding CO2 at that stage is a natural progression toward maximizing your yields.
Once you have your CO2 dialed in alongside strong lighting and a clean nutrient program, you’ve essentially built an optimized growing environment. CO2 isn’t magic, and it won’t rescue a struggling grow. As the final layer on top of a well-tuned system, though, it genuinely moves the needle. Get the basics right first. Then turn this dial. CO2 enrichment is one of the highest-leverage advanced hydroponic techniques available once your lighting, nutrients, and environment are already solid.